FAQs
Hold the power button down for 3-5 seconds to lock/unlock the unit.

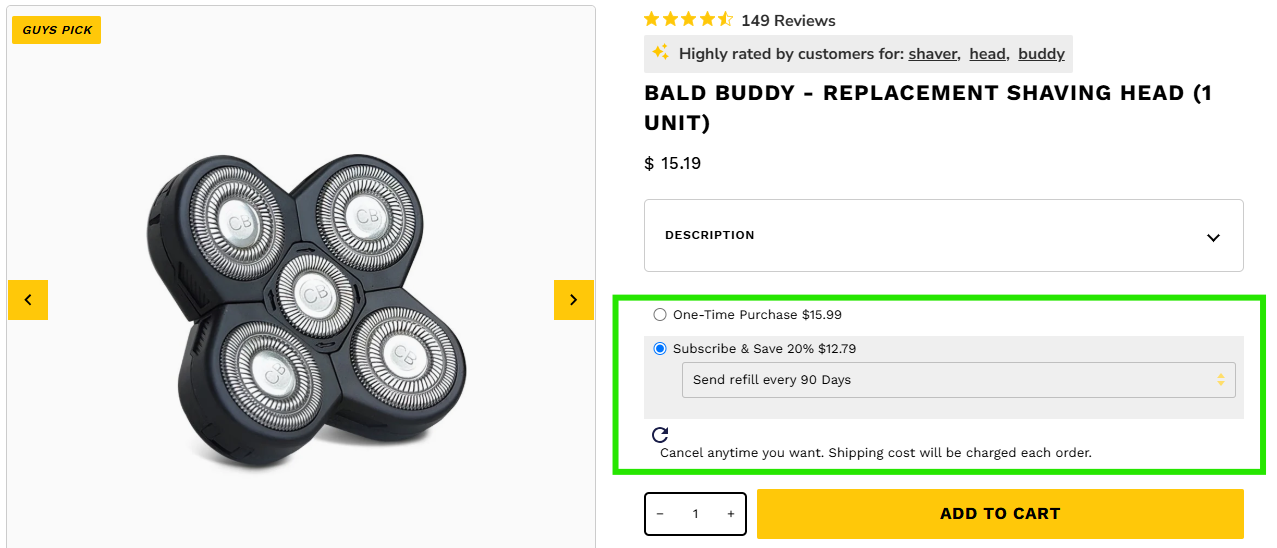
SUBSCRIBE AND SAVE
1. Visit our website at www.thecutbuddy.com
2. Select the item you’d like to subscribe to. Choose the "Subscribe & Save" option and select your preferred delivery frequency: every 90 or 120 days.
3. Add the item to your cart and follow the checkout prompts to complete your subscription.

BALD BUDDY ROTARY SHAVER
| How to shave to avoid irritation & ingrown hairs (shaving routine) | |
| Bald Head Shaving - The importance of exfoliation and pre shave preparation | |
Bald Shaving: Wet Shaving VS. Dry Shaving - When should you wet shave? |
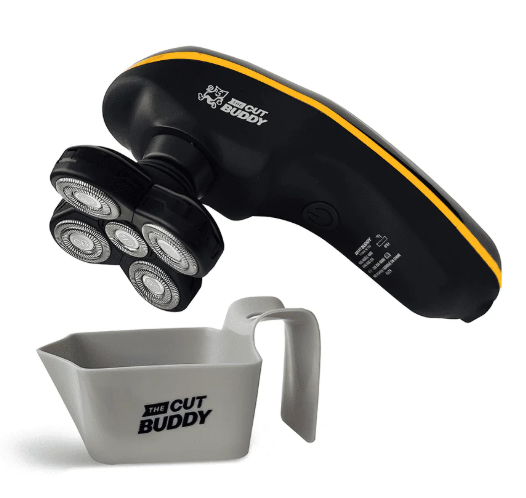
| DAILY CLEAN - During and after every use |
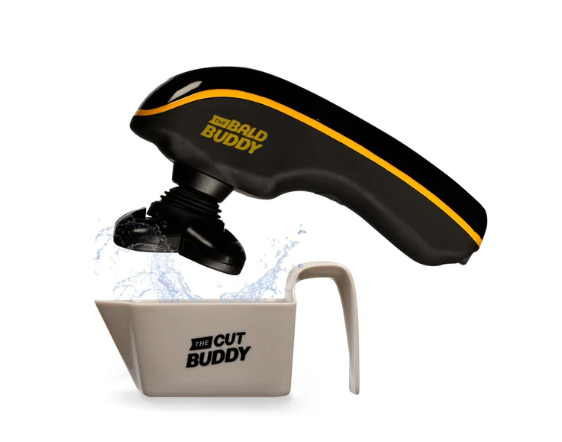
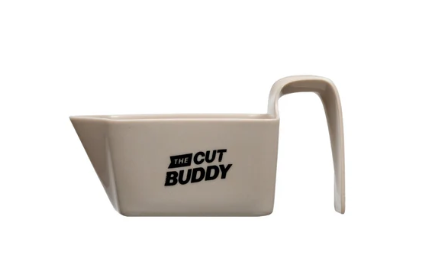
| If the motor slows down, run the shaver in a bowl of warm water while it's powered on. This flushes out hair and buildup—once clear, the motor will return to full speed. |
| DEEP CLEAN - When the blades are clogged |
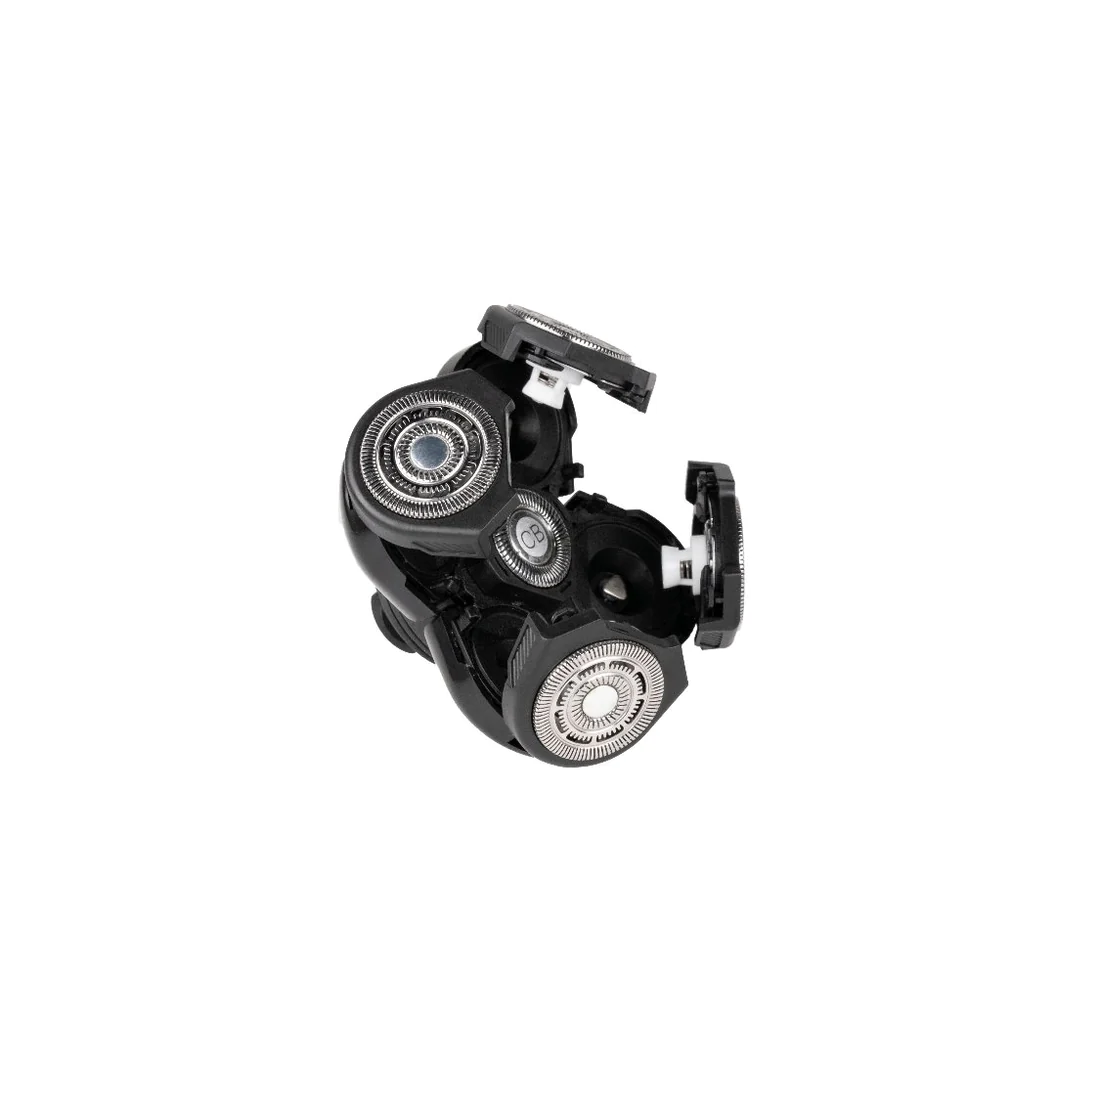
| 1. Remove the Shaving head - Don't twist! Don't pull at an angle! |
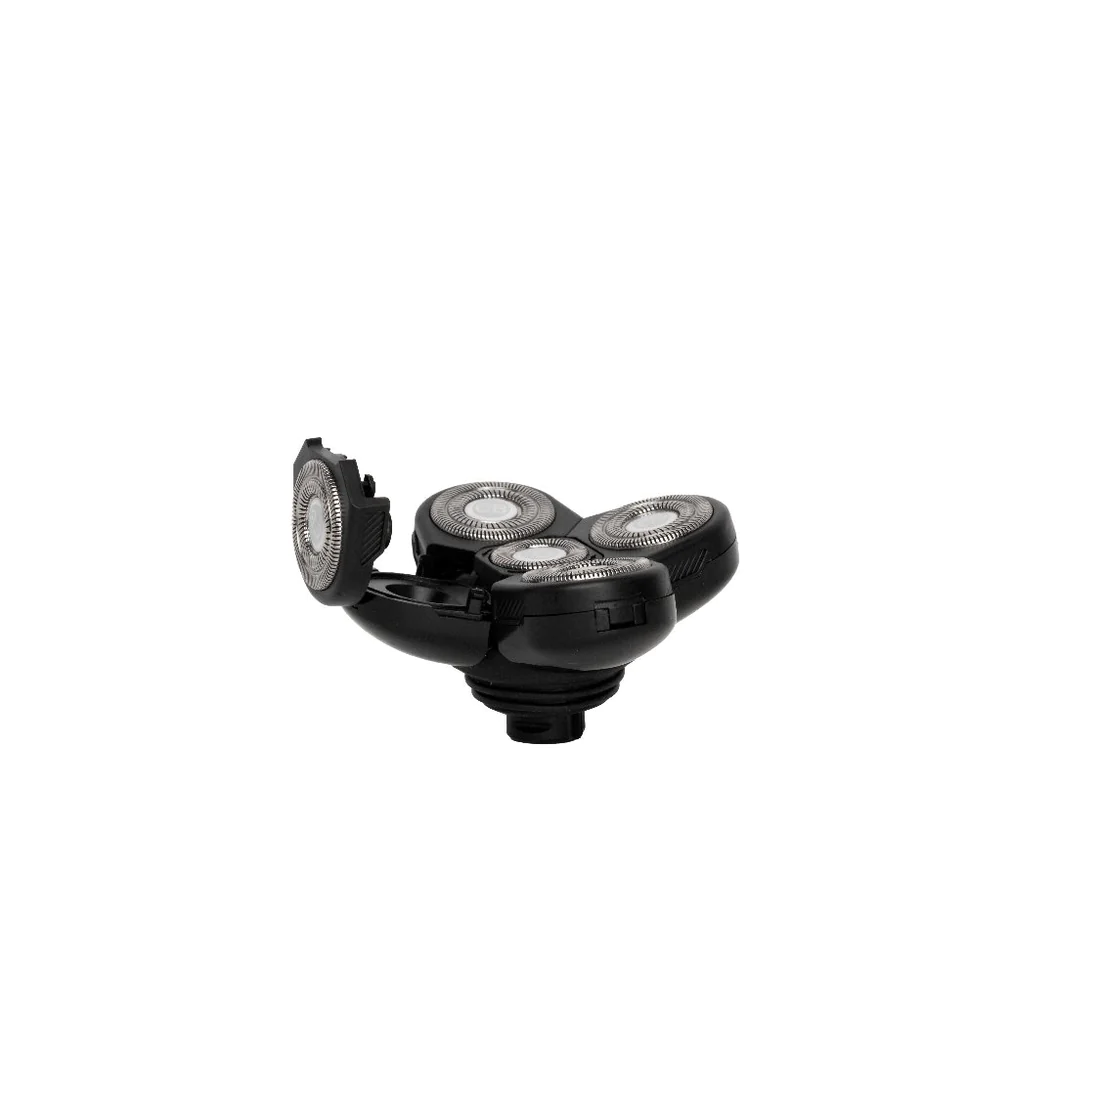
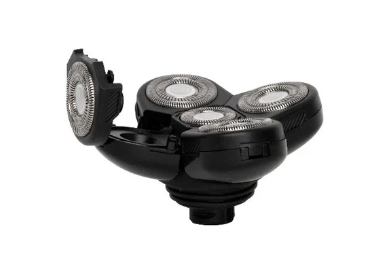
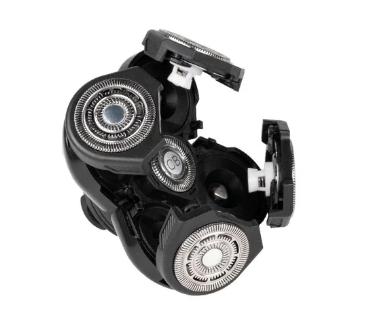
| 2. Open the blades (no more than 90°) and brush out any hair. Twist the center blade counter-clockwise to remove. |
| 3. Soak the shaving head in warm, soapy water for 1–2 hours, then reassemble and reattach it to the shaver. |
| 4. With the shaver powered on, immerse the head in warm water. As the blades run, debris will flush out. Once the motor sounds normal, you're good to shave. |
***DON'T FORGET to replace your shaving head every 3-5 months***
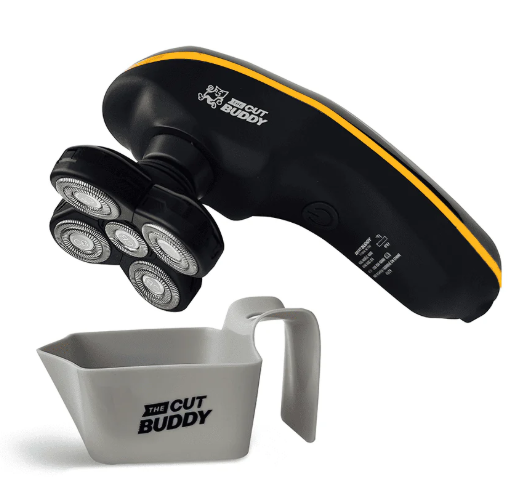
FIRST - Check these 3 things:
| 1. Check if it's in Lock Mode | Hold the power button for 3-5 seconds to turn lock mode on/off. |
| 2. Check if it's charging | Plug the shaver into the charger and leave it for 2-3 hours (Camo: The full battery symbol will stop blinking and remain constant when fully charged. New Version will show the battery 100%.) Does the full battery symbol stop flashing and remain constant? |
| 3. Check if the issue is the Shaving Head or the shaver itself. | Remove the shaving head (Instructions below) and power on the shaver. If the shaver runs without the shaving head attached, see the Instructions below. |
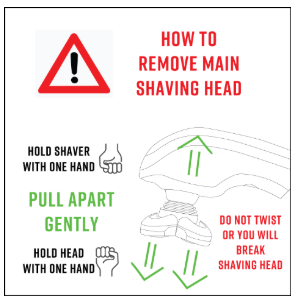 | Click this link to watch a video on how to remove your shaving head Pull straight out, not at an angle. Do not twist; this will break the support bars. |
If your Bald Buddy runs when the shaving head is removed, the shaving head is jammed. Please follow the 4 steps below to clear the shaving head.
| 1. Remove the shaving head. Don't twist! Don't pull at an angle! | 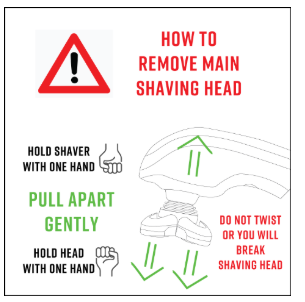 |
2. Open the blades and remove any visible debris: Don't open the blades past a 90-degree angle or you will break the blade off. The center blade is a counter-clockwise twist to remove. Brush away any visible hair. | 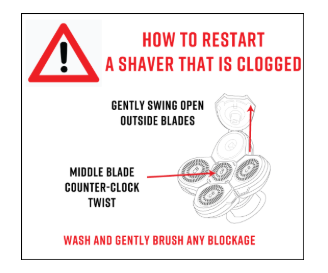 |
3. Soak the shaving head | Soak the shaving head in a bowl of warm water and soap for 1-2 hours to loosen debris stuck in the gears/blades, then reassemble the shaving head and attach it back to the shaver. |
4. Reassemble and flush it in water Immerse the shaving head in a bowl of warm water while keeping the shaver powered on. As the blades run in the water, you’ll see hair and shaving cream being flushed out. | 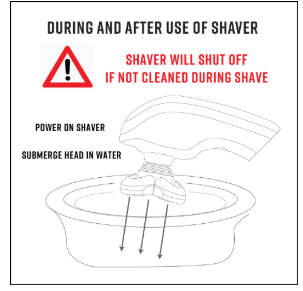 |
***DON'T FORGET to replace your shaving head every 3-5 months***


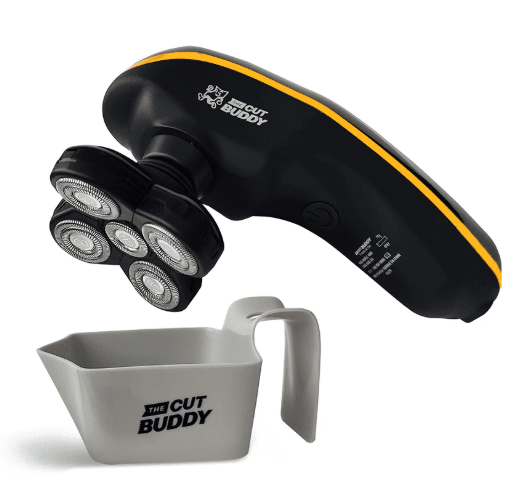
 |  |
ORIGINAL | TEXTURED HAIR |
|
|
***Remember to Replace your Shaving Head Every 3-5 Months***
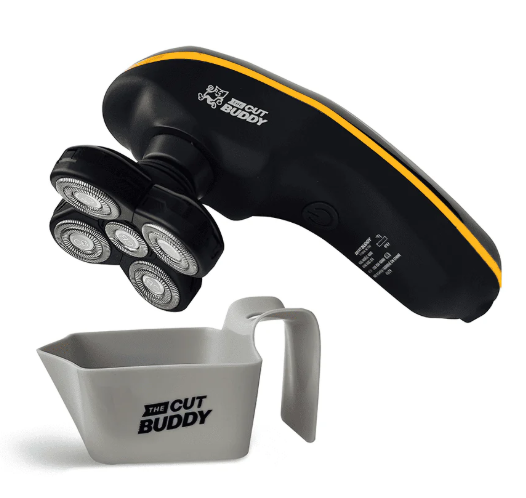
| Smoothest Bald Shave Ever? Bald Buddy Routine & Demo | |
| How To Prevent Razor Bumps & Ingrown Hairs ft. The Bald Buddy | The Ultimate Head Shave Tutorial | |
Bald Buddy | |
| Testing the Refined Bald Buddy: A Pro's Honest Opinion The Grooming Den | |
| Ultimate Bald Head Care Routine | Bald Head Care for Black Men | Tips & Tricks w/ Bald Buddy | 2025 | |
| Bald Buddy Shaver User Experience | |
| Bald buddy Demonstration |
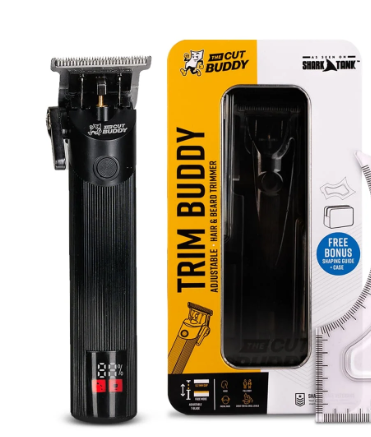
TRIM BUDDY TRIMMER
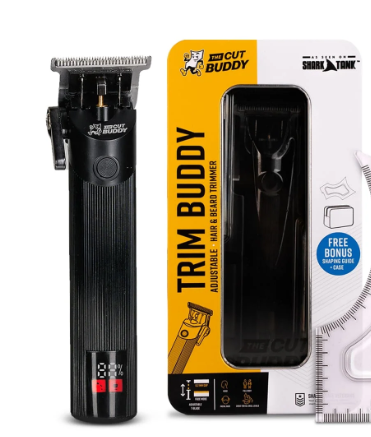
| UNBOXING What comes with the Trim Buddy Trimmer | |
How to use the Trim Buddy Trimmer | |
How to Replace the Blades on your Trimmer | |
| ZERO-GAP MODIFICATION How to Install the Zero-Gap Modification Piece on your Trimmer | |
The Best Way to Clean and Oil Hair Clippers and Trimmers |
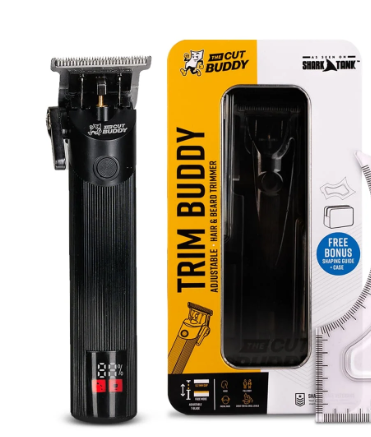
| 1. First check to make sure your Trimmer is not in Lock Mode | To turn the lock mode off/on: Hold the power button for 5 seconds. |
| 2. Next let’s try cleaning and oiling your Trimmer. | |
| * NOTE | · Make sure you DO NOT submerge or drench your trimmer body or motor in water. · Only the guards and the blades can be cleaned with oil or cleaning solution, NOT the body/motor or product. |
| 3. Let’s check to see if there are any symbols on the display screen, if so which ones? | · Battery Percent: The battery will display the percentage of battery left as a number at the top. · Oil Light (Bottom Left): This lets you know it’s time to oil your Trimmer. · Charging Light (Bottom Right): This lets you know it's time to charge your Trimmer. |
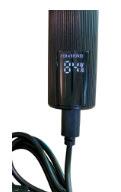 | 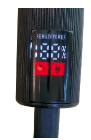 |
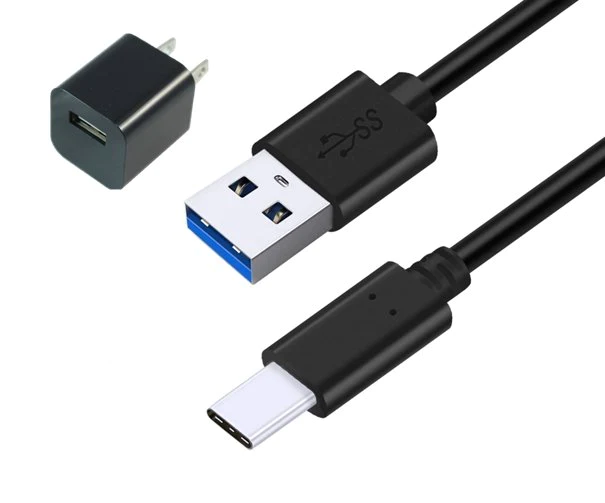
| 4. No Symbols showing on the display screen? Let’s check your charger. | · Please make sure you are using the original charger that came with the product. · Check to make sure there is no damage along the cord, it did not get wet, and all parts are fully inserted. · Be sure to use the wall charger as some USB ports you may try are media only and not a power source. · We sell replacement chargers on our website if needed. Click here to purchase a Replacement Charger |
| 5. Did the Trimmer get damaged with water or a fall? | · Make sure you DO NOT submerge or drench your trimmer body or motor in water. · Only the guards and the blades can be cleaned with oil or cleaning solution, NOT the body/motor or product. |
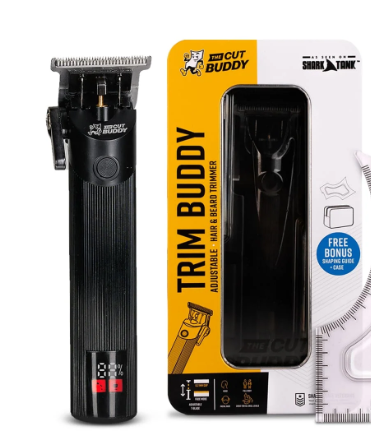
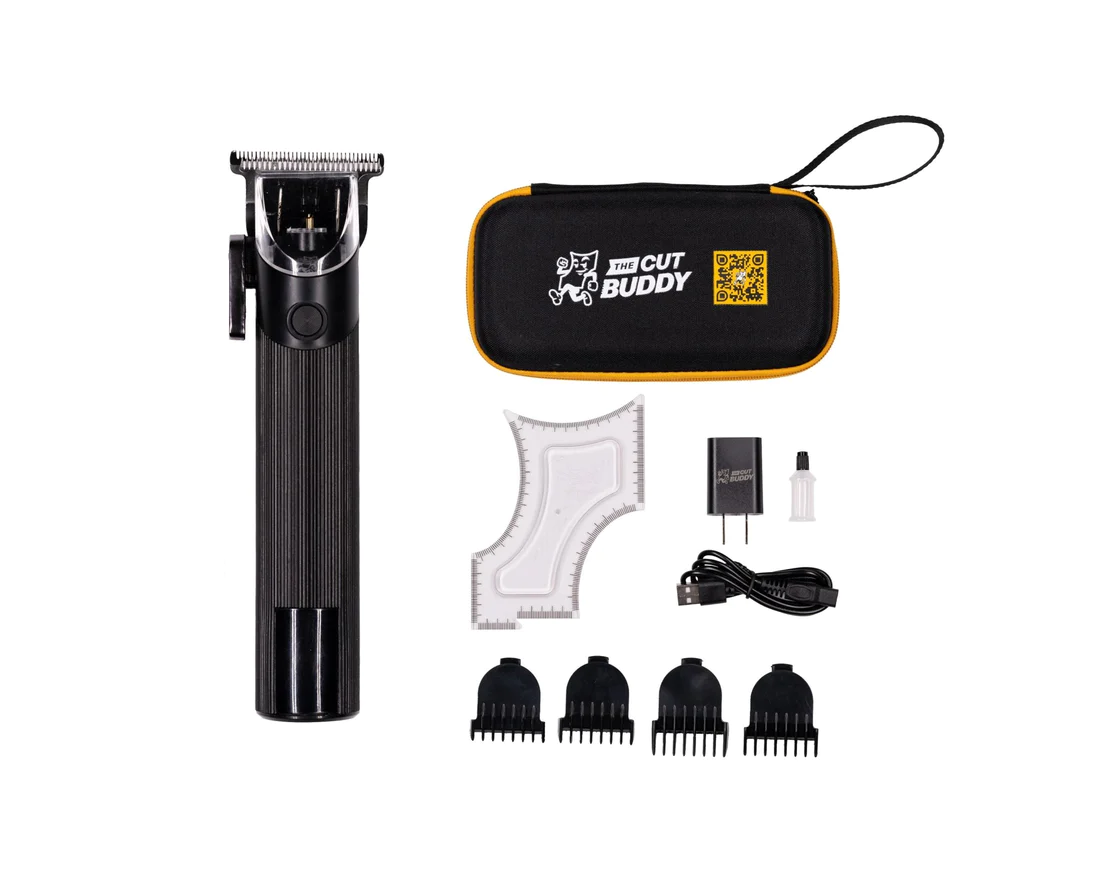
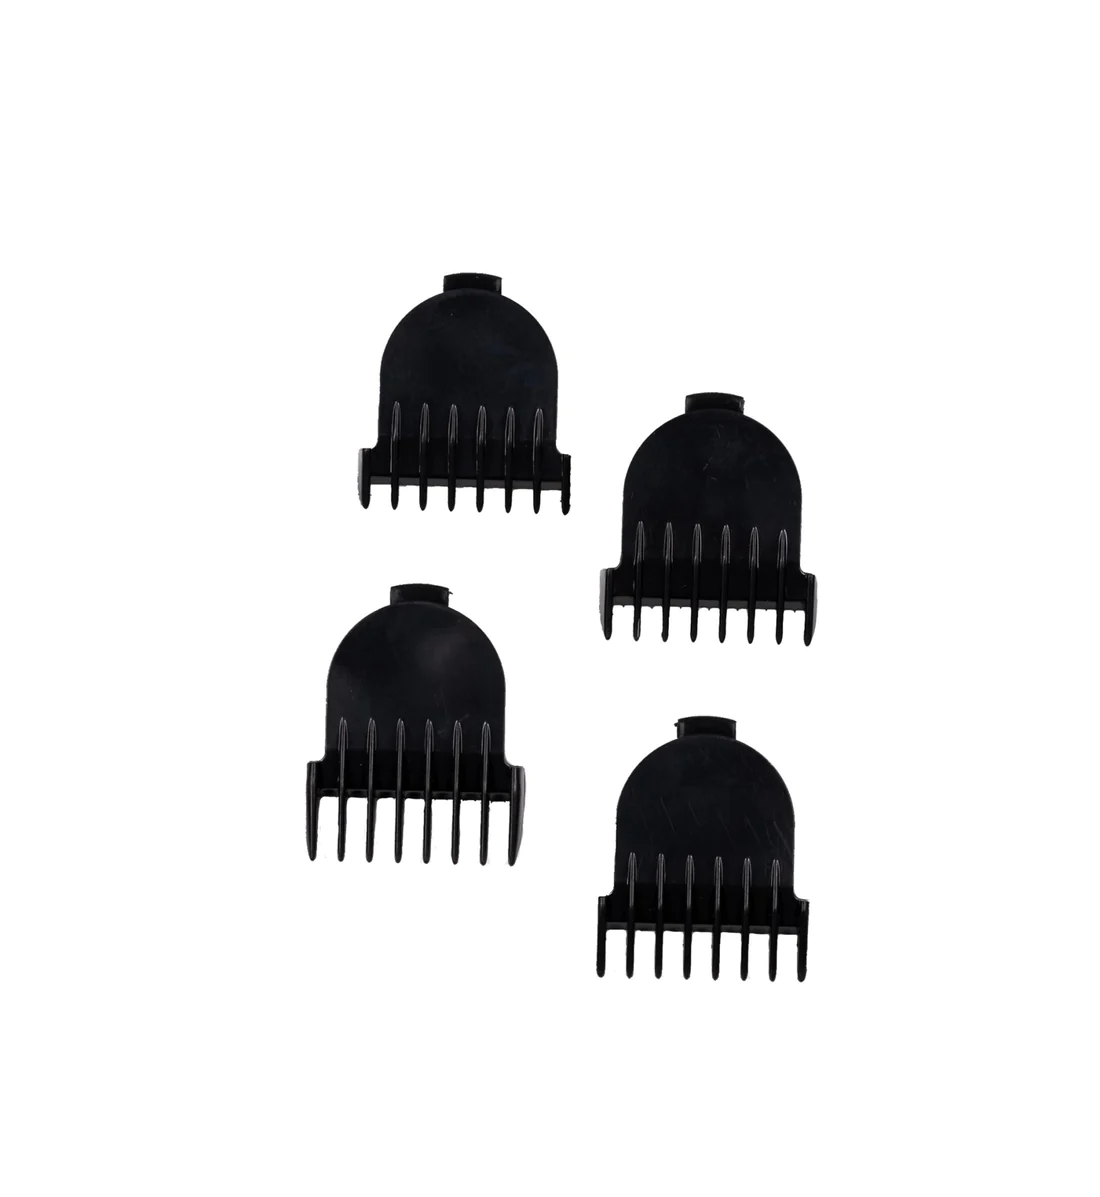
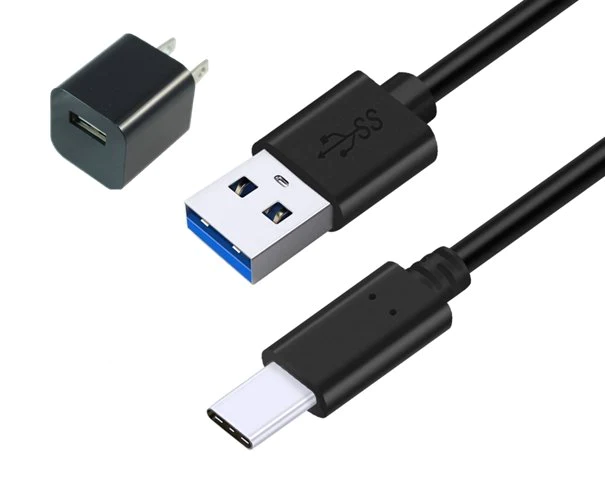
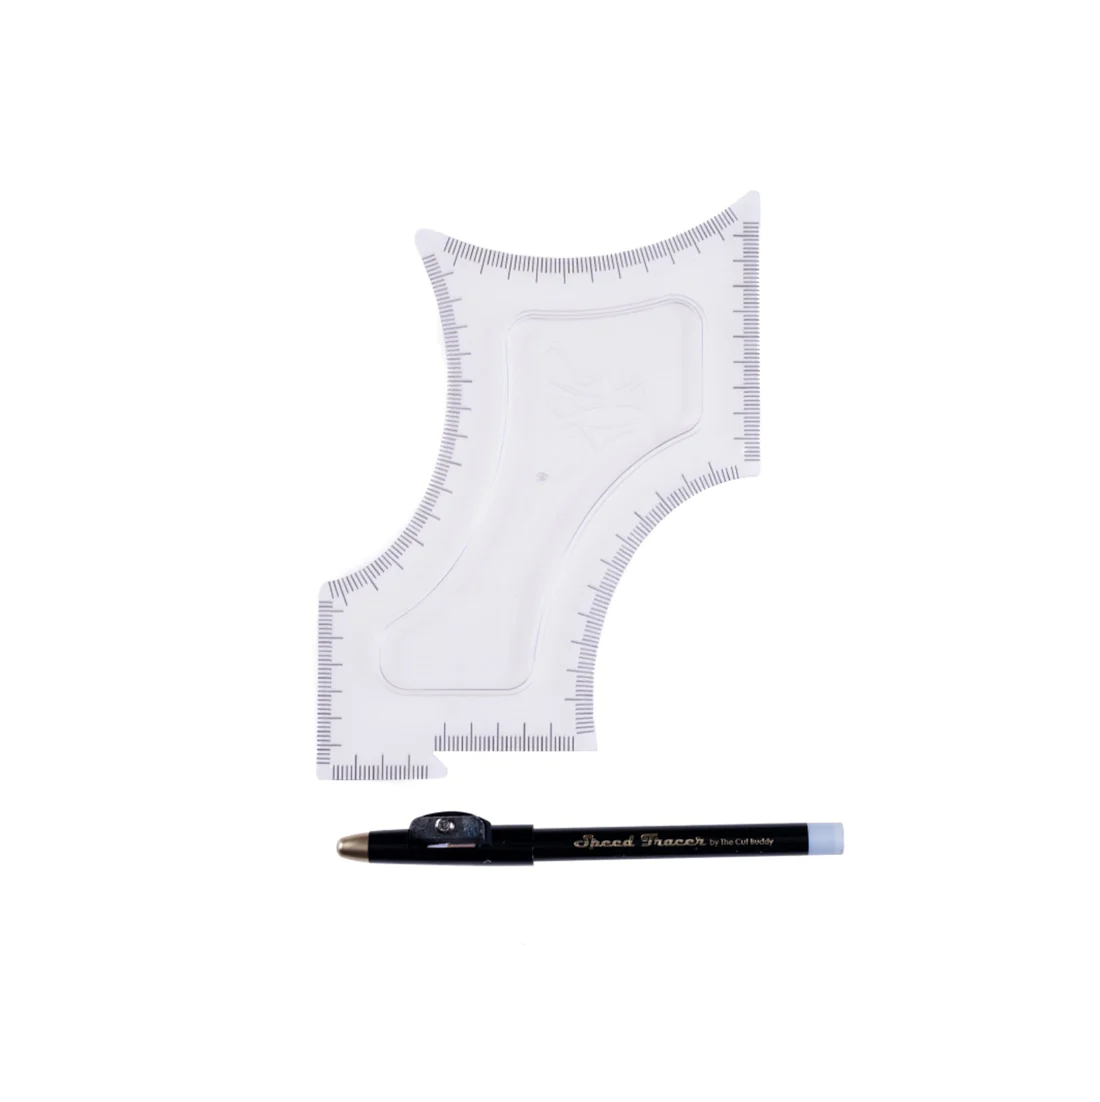
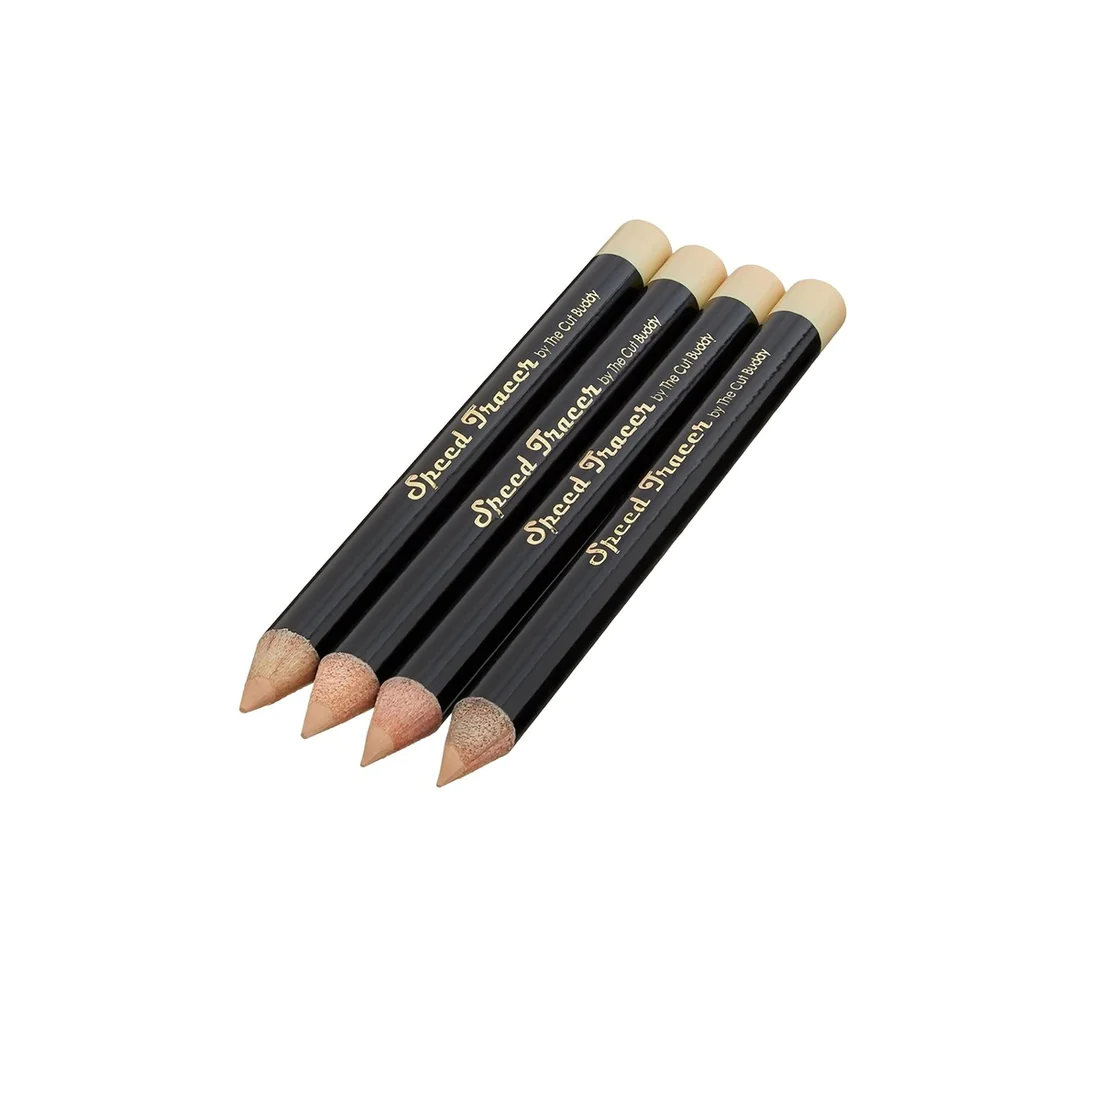
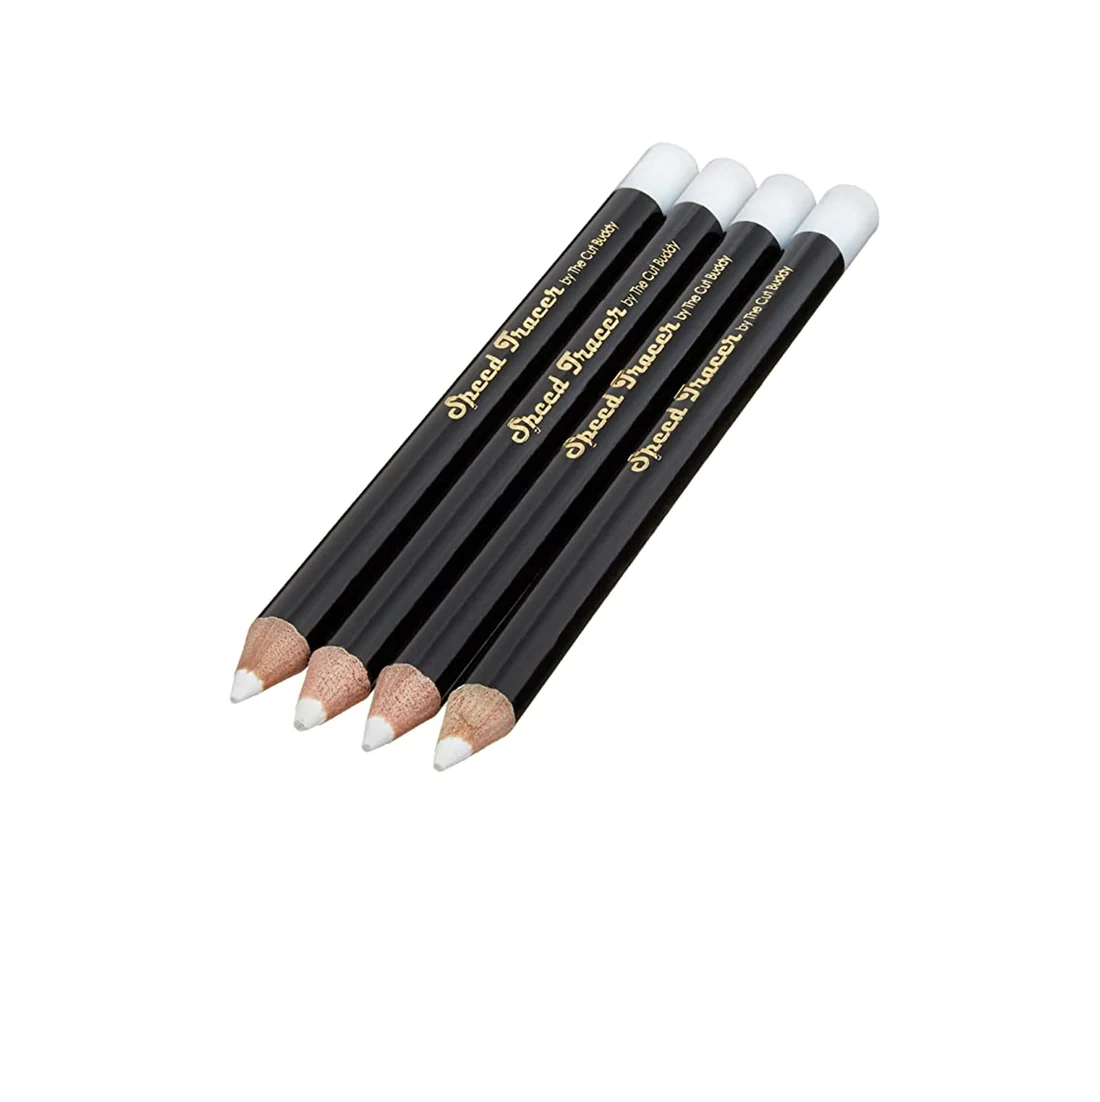
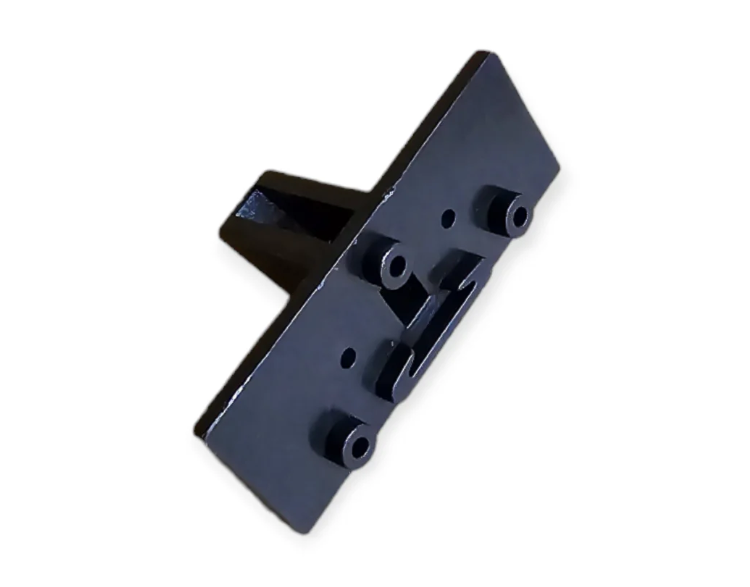
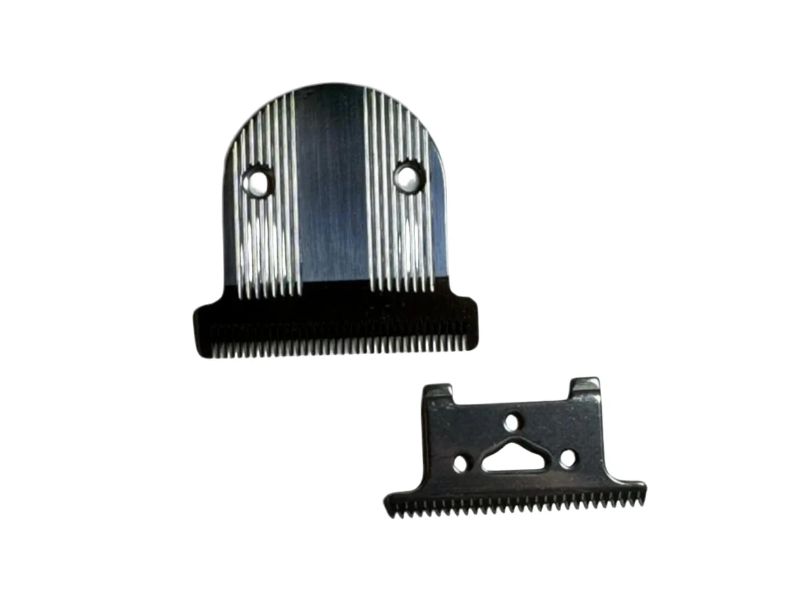
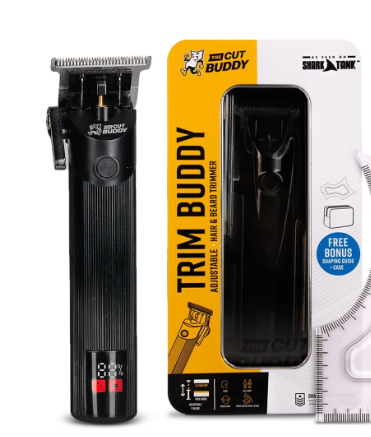
TRIM BUDDY TRIMMER ZERO GAP MODIFICATION PIECE
If you want to Zero gap your Trim Buddy Trimmer, we have a modification piece that will do just that.
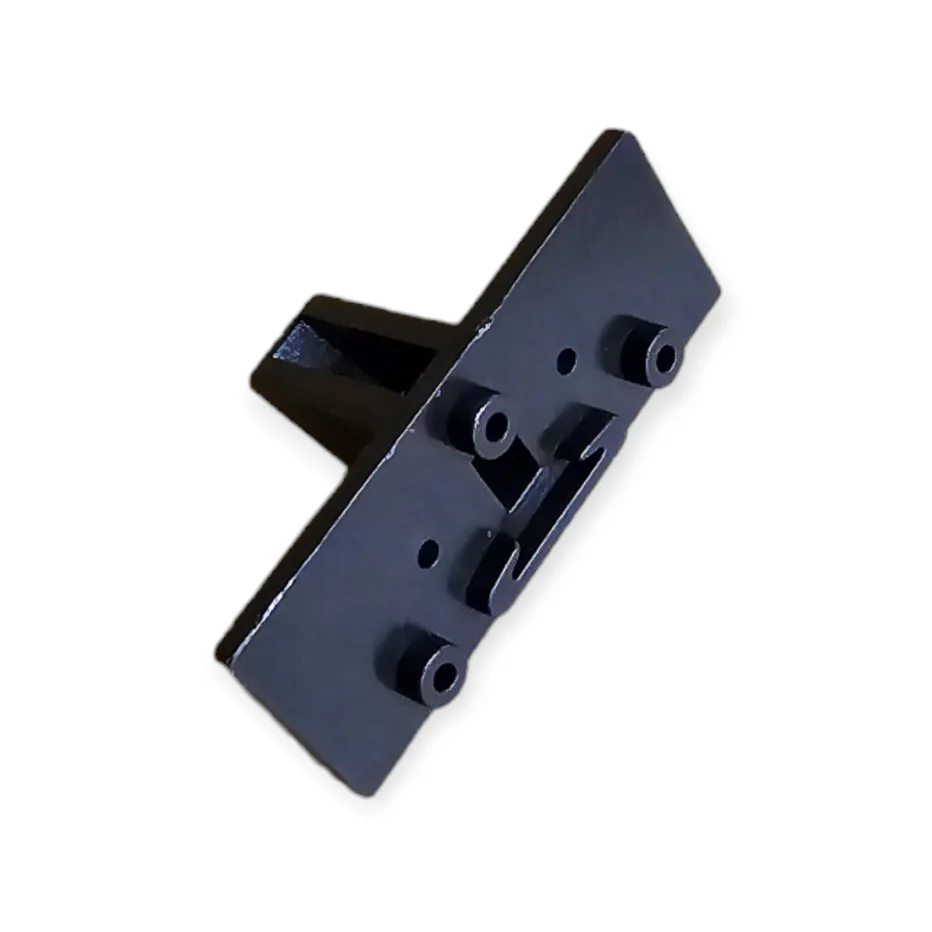 | |
Please watch the video above for directions on how to install this piece properly |
Here is the link to all of the Manuals:
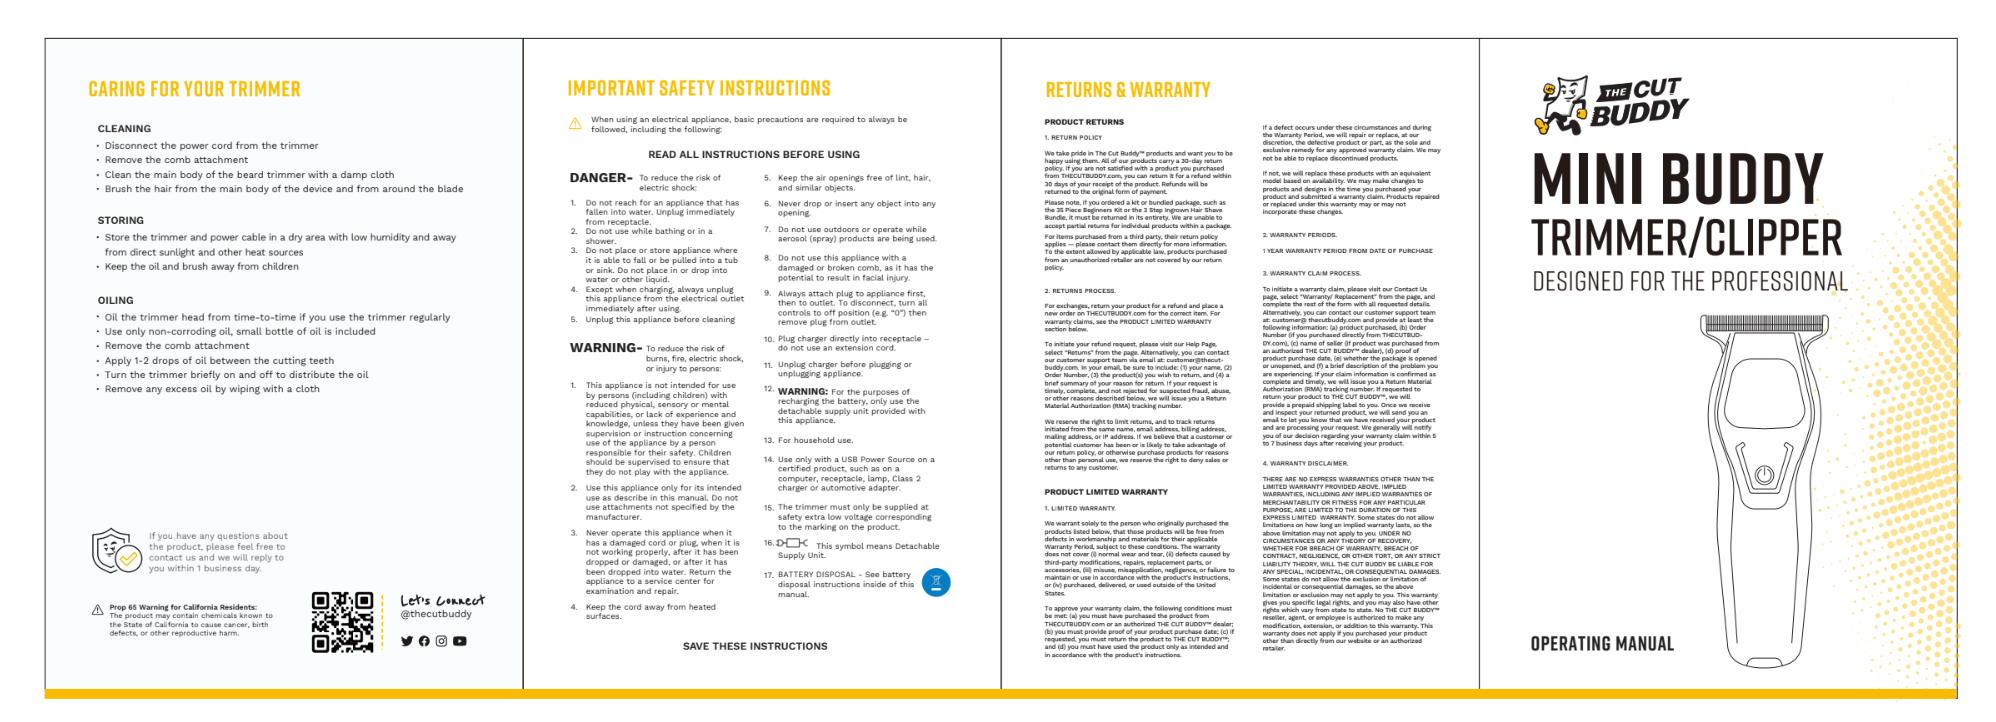
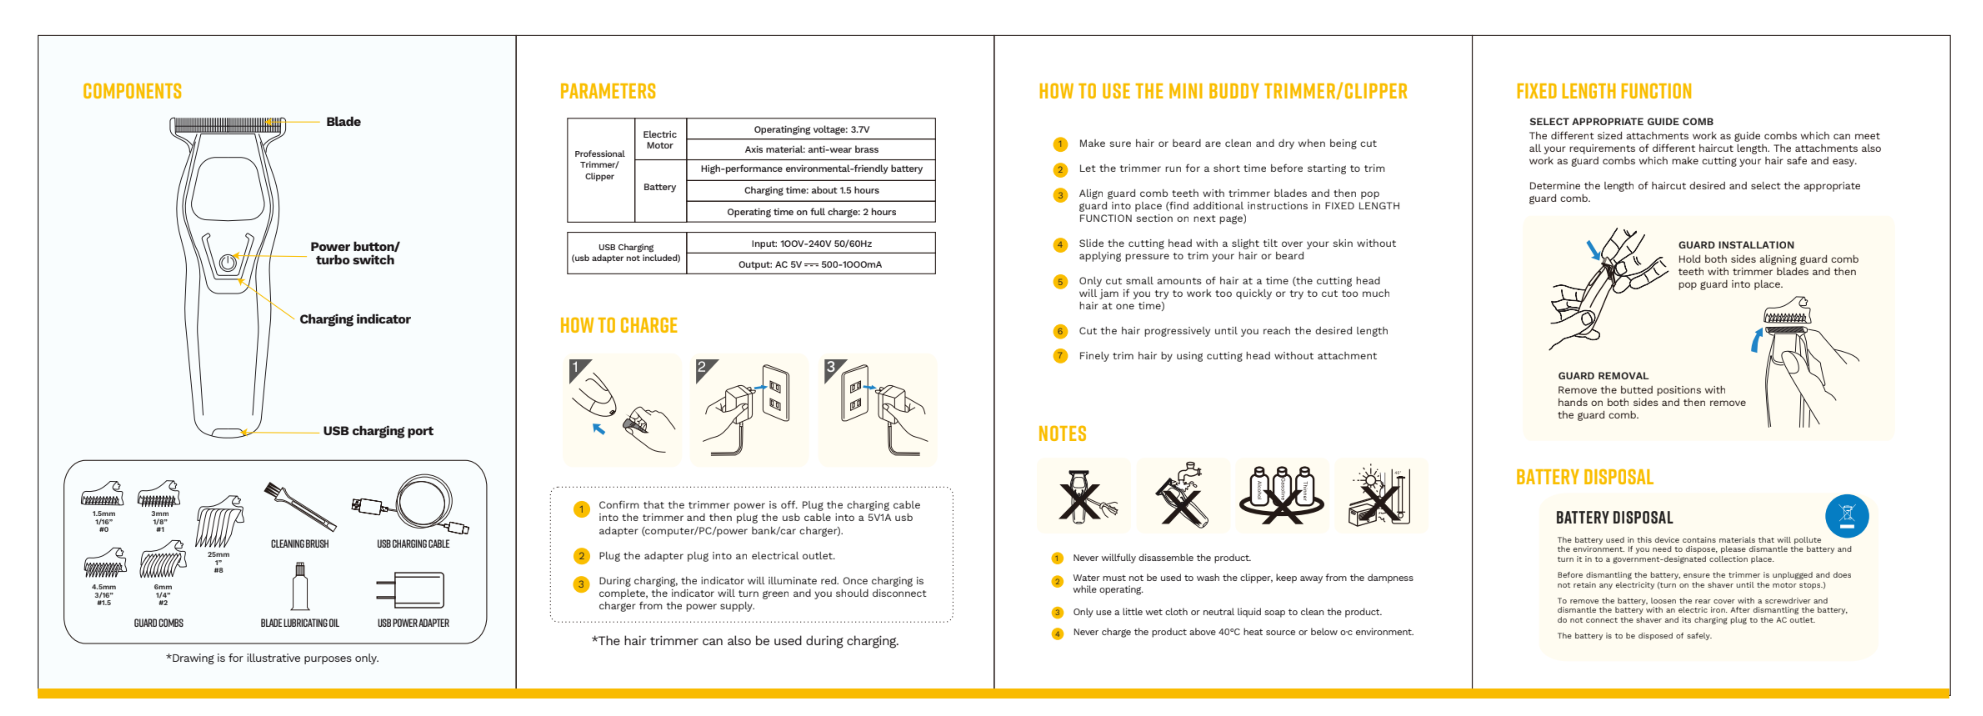
Click here to view the product manual for the Trimmer, Clipper and Shaver
TRIM BUDDY TRIMMER
Best Fading, Blending, Lining Techniques for Haircuts | |
| Trim Buddy Available at Walmart and Target - Insense 4 | |
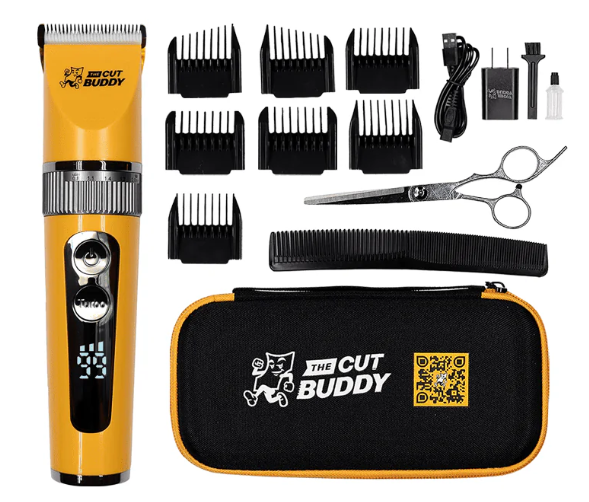
CLIPPER - CORDLESS HAIR AND BEARD
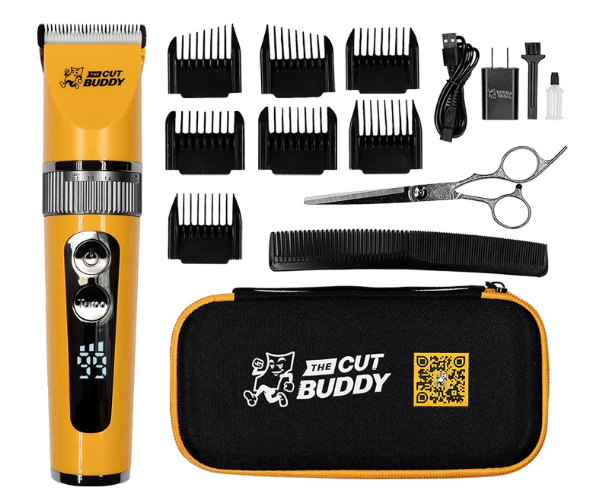
The Best Way to Clean and Oil Hair Clippers and Trimmers |
| 1. First check to make sure your Clipper is not in Lock Mode | To turn the lock mode off/on: Hold the power button for 5 seconds. |
| 2. Next let’s try cleaning and oiling your Clipper. | |
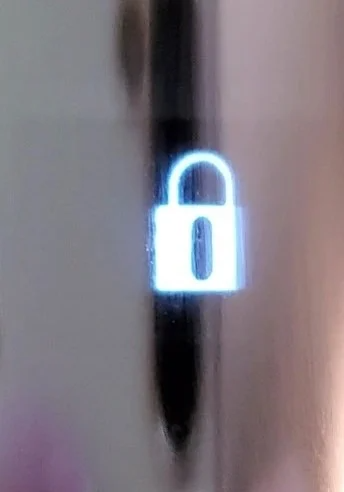
| 3. Let’s check to see if there are any symbols on the display screen, if so which ones? | · Battery Percent: The battery will display the percentage of battery left as a number at the top. · Lock Symbol: Look at Bullet point #1 for Lock Mode |
 |  |
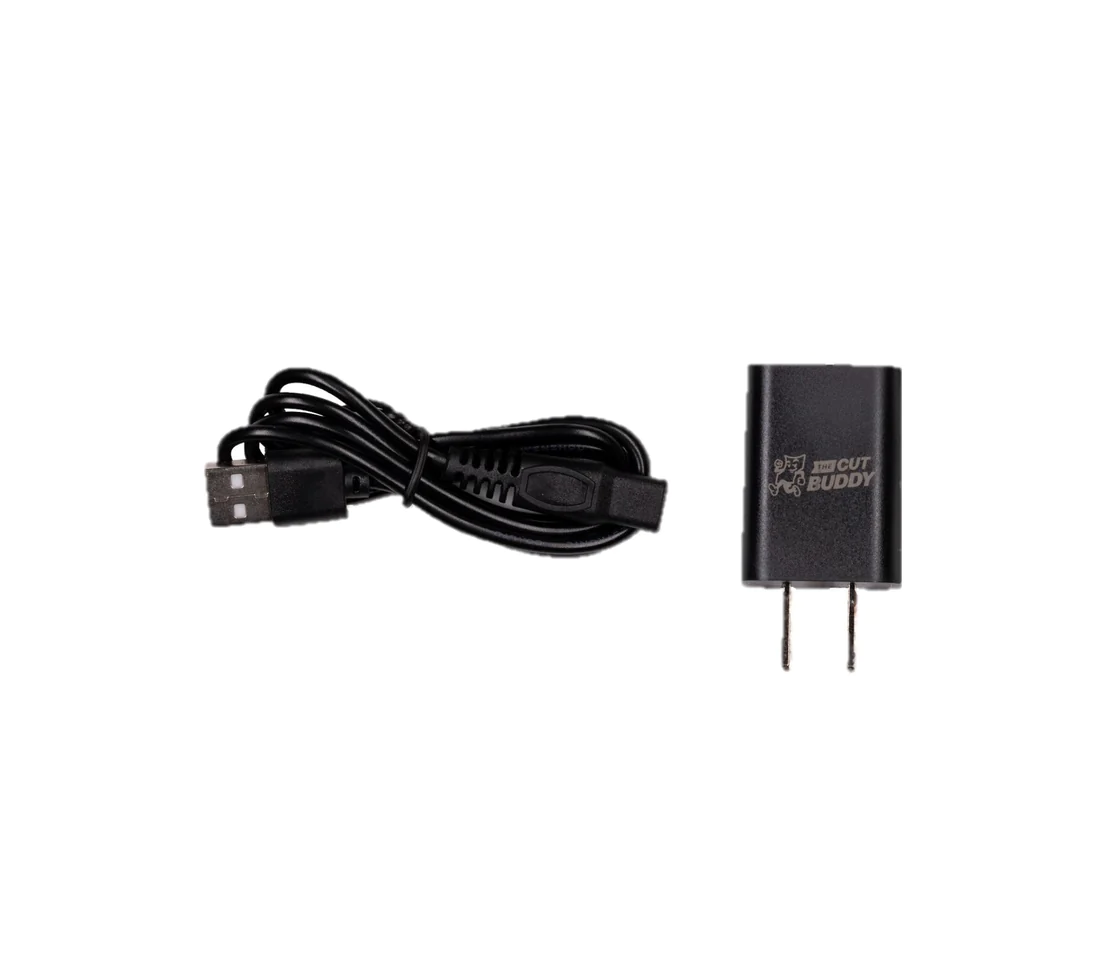
| 4. No Symbols showing on the display screen? Let’s check your charger. | · Please make sure you are using the original charger that came with the product. · Check to make sure there is no damage along the cord, it did not get wet, and all parts are fully inserted. · Be sure to use the wall charger as some USB ports you may try are media only and not a power source. · If you need a replacement charger, click this link: Click here to purchase a replacement charger |
Here is the link to all of the Manuals:
Click here to view the product manual for the Trimmer, Clipper and Shaver
BEGINNER'S CLIPPER
Haircut Tutorial for Taping and Lining Short Hair and 360 waves with @360silk | |
| Best Fading, Blending, Lining Techniques for Haircuts |
BUZZ BUDDY 360 CLIPPER
| THE BUZZ BUDDY 360 CLIPPER |
| You’ve never seen a Clipper like this😱Buzz Buddy 360 DEGREE CLIPPER‼️DIY Self fade haircut 💈 | |
| Can a $35 Clipper Actually Fade Good? (Buzz Buddy Review) | |
| How to Fade Your Hair | |
| How to Fade in 10 Minutes - Self Cut Taper Tutorial | |
Haircut Tutorial for Fading Hair with the Buzz Buddy | |
| The Buzz Buddy By The Cut Buddy | |
| The Importance Of Cutting Your Own Hair (Tutorial) |
MINI BUDDY TRIMMER AND CLIPPER
| Mini Buddy - Unboxing | |
| FADE with $25 Walmart CLIPPERS!? | FADE Tutorial | |
| Can A $25 Walmart Trimmer Replace A Barber? | Mini Buddy Tested! | |
| The Importance Of Cutting Your Own Hair (Tutorial) | |
| Haircut Challenge Using ONLY Walmart Trimmers😳 The Mini Buddy By The Cut Buddy |
SHAVE BUDDY - MINI FOIL SHAVER
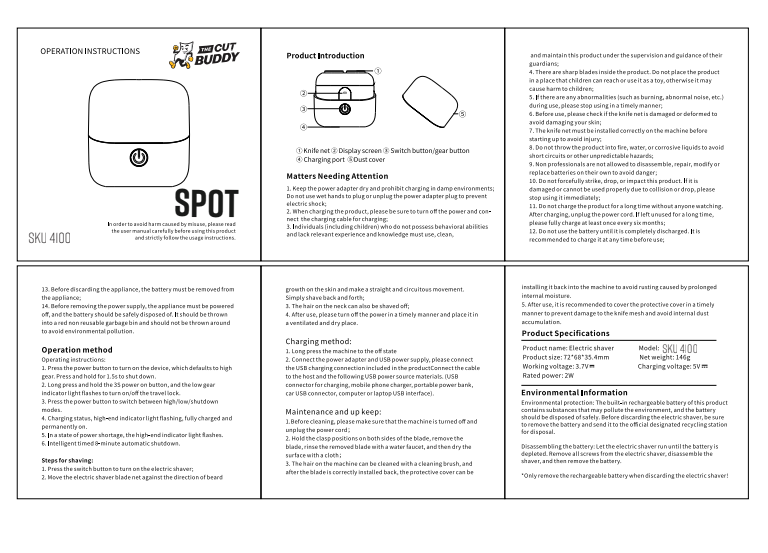
THE SPOT - MINI ELECTRIC SHAVER
SHAPING TOOL
| Can A $25 Walmart Trimmer Replace A Barber? Mini Buddy Tested! | |
| Keep your Line Up Fresh Between Haircuts with Beginner Cutz | |
| Enhancing Your Hairline with Shaping Tool and Pencil | |
| The Cut Buddy Hair Shaping Tool for Men | |
| Beginner Cutz Shows off The Cut Buddy for Beards | |
| Shape up your hairlines perfectly! |
SHAVING CREAM
SHAVING CREAM
| Never Have Irritated Skin After Shaving Again | Wet Goods Breakdown |
Why use shaving cream?
Shaving Cream helps to decrease skin irritation while shaving, it helps to keep the skin hydrated so it does not dry out and it helps to exfoliate dead skin to prevent irritation and infection.
Why use an exfoliating Brush?
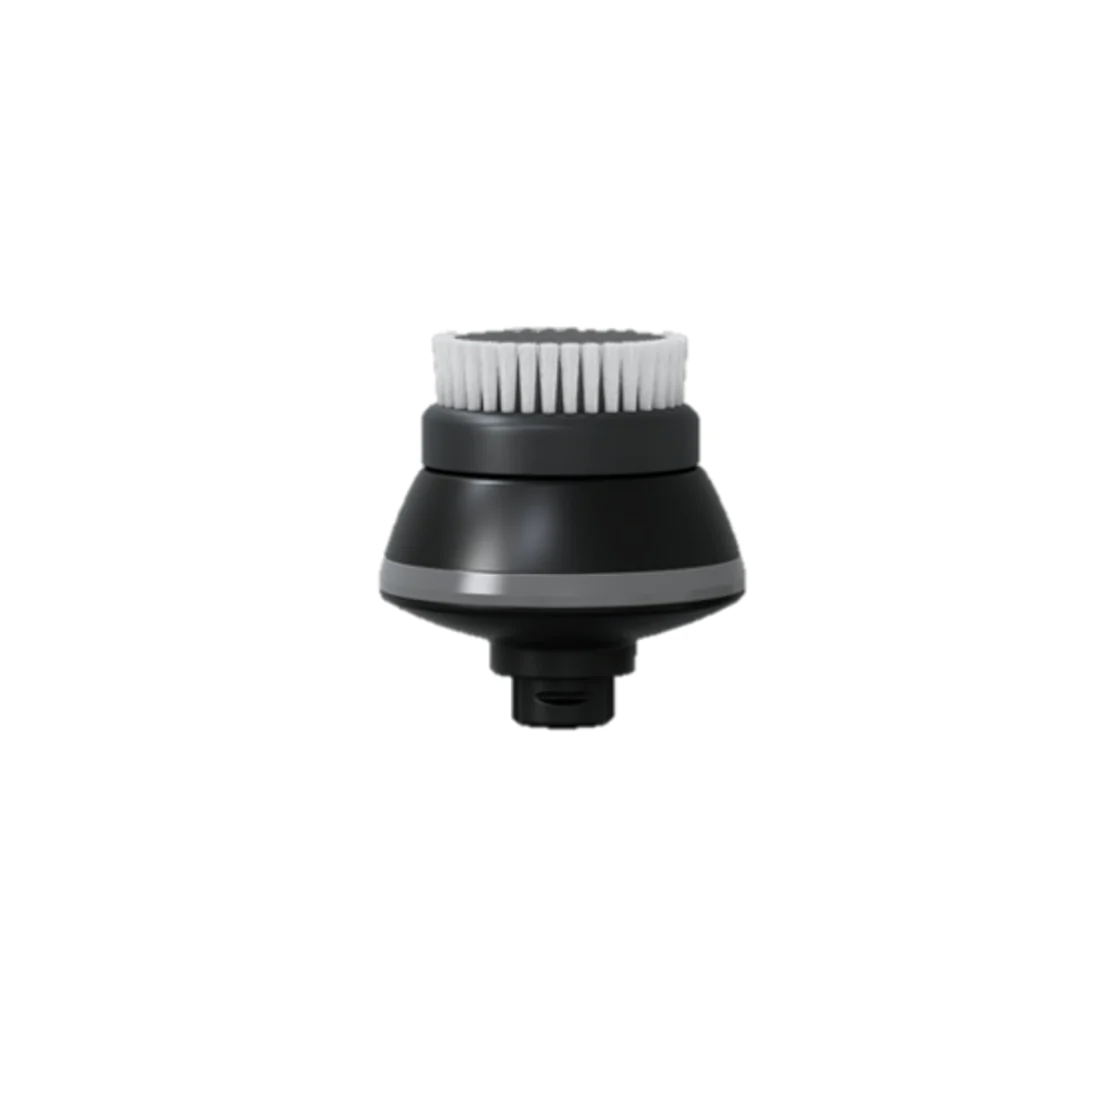
An exfoliating brush helps to further exfoliate the dead skin (helping prevent irritations and infection) giving you a closer and smoother shave. Regular exfoliation can prevent clogged pores and decrease breakouts and ingrown hairs.
Please view our products (and links) below:
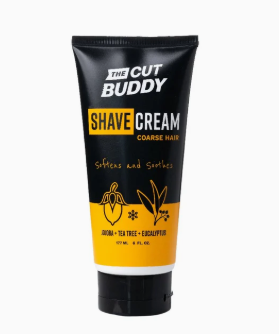
1. Shaving Cream - Soothing Foaming Solutions: Shaving Cream Soothing Foaming Solutions Link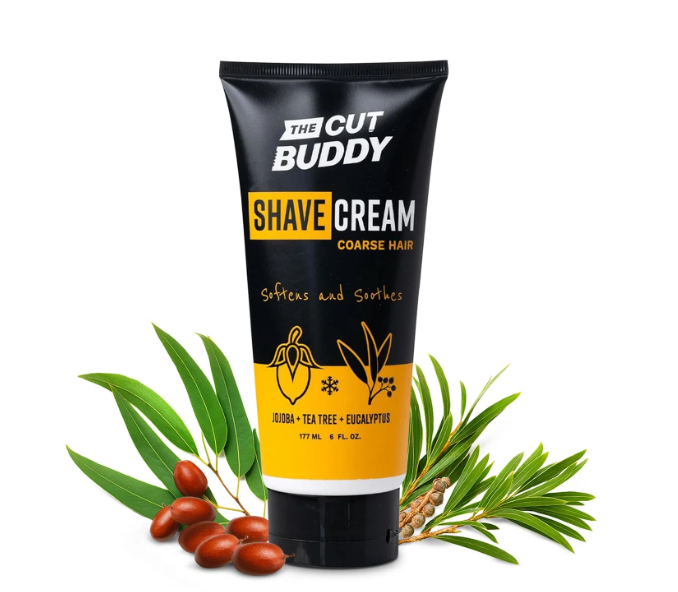
2. Shaving Cream - Hair and Irritation Defense: Shaving Cream - Hair and Irritation Defense Link
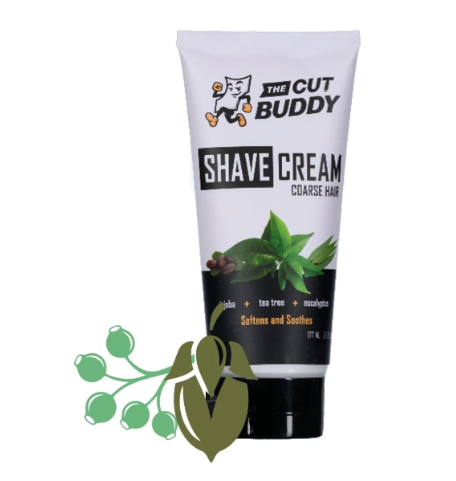
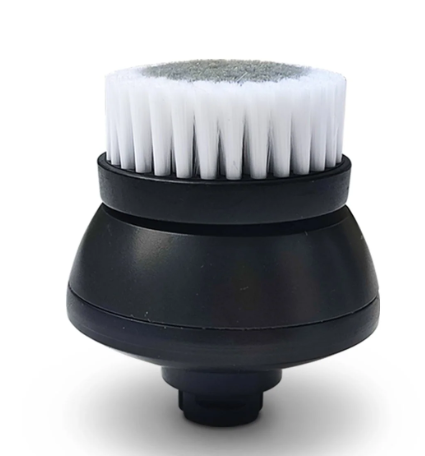
3. Pre-Shave Exfoliating Cone Bristle Brush: Pre-Shaving Exfoliation Cone Bristle Bruch Link
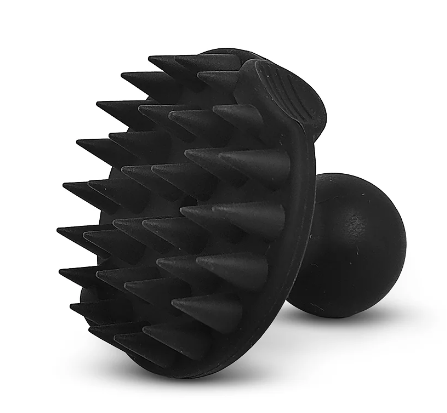
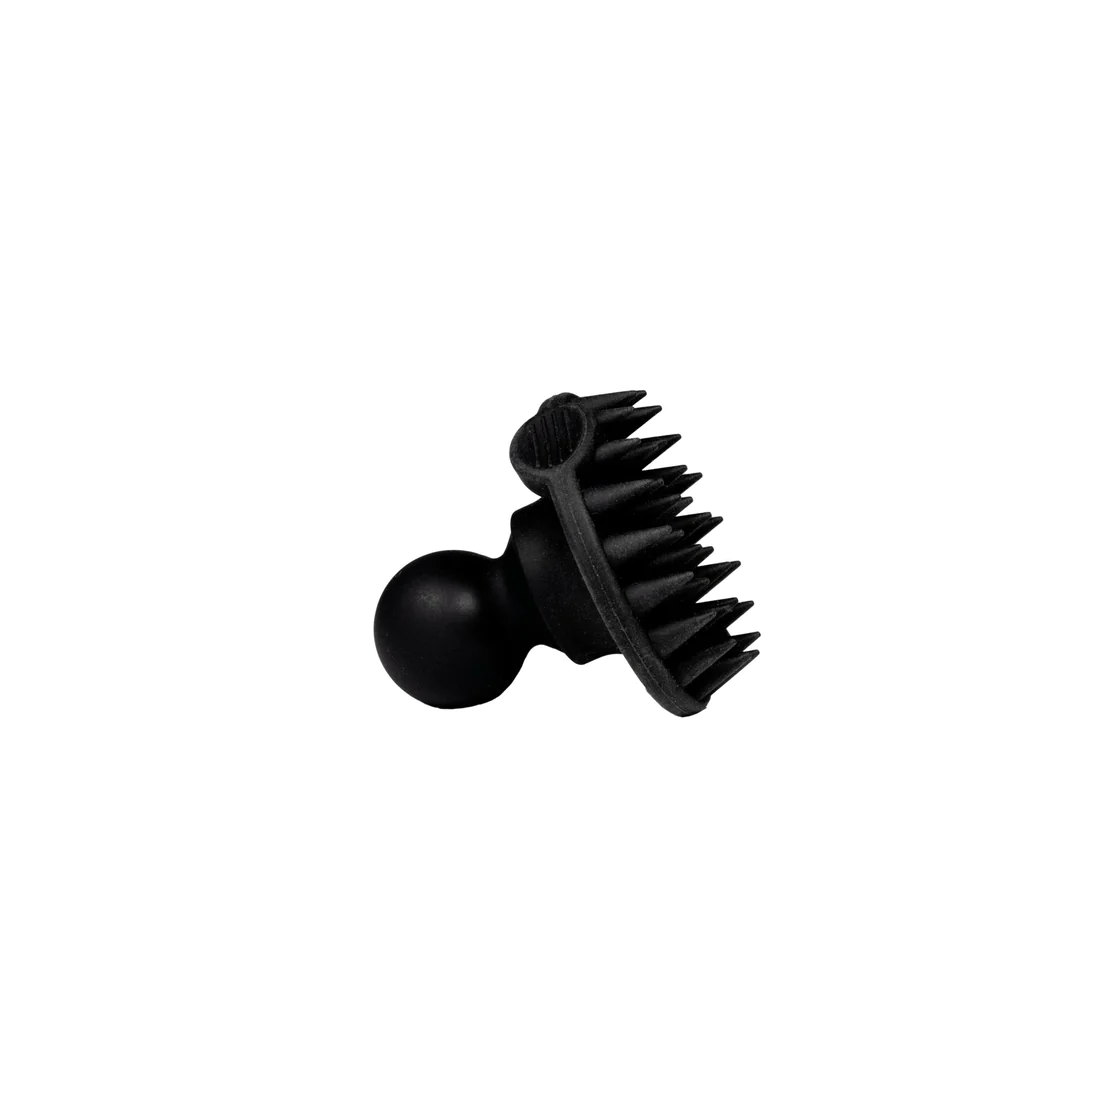
4. Exfoliating Brush - Bald Buddy Attachment (This is an attachment for the Bald Buddy Shaver): Bald Buddy - Exfoliating brush attachment
AFTER SHAVE
AFTER SHAVE
| Never Have Irritated Skin After Shaving Again | Wet Goods Breakdown |
Why use After Shave?
Aftershave helps prevent skin irritation, razor bumps, and ingrown hairs if used regularly.
As the hair grows, it can continue to cause irritation on days 2 and 3 after shaving. It is recommended you continue to use the aftershave on days 2 and 3 (After you shower).
Please view our products (and links) below:
1. Shaving Cream - Soothing Foaming Solutions - Citrus: After Shave Solution - Citrus
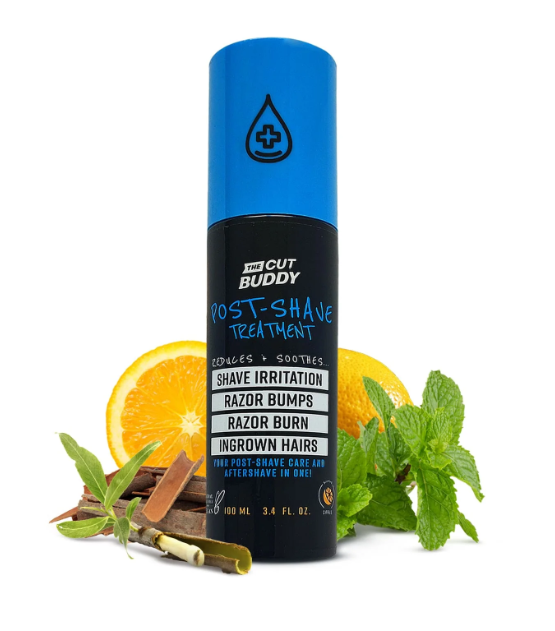
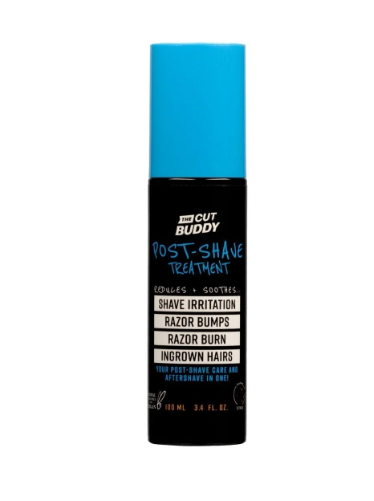
2. Shaving Cream - Soothing Foaming Solutions - Unscented: After Shave Solution - Unscented
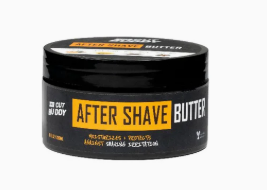
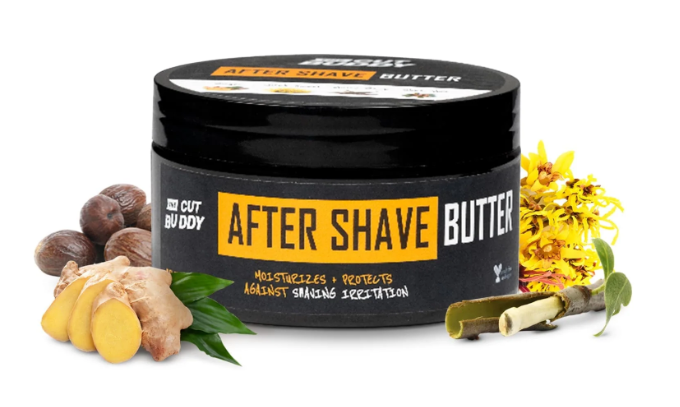
2. Shaving Cream - Hair and Irritation Defense: After shave moisturizer butter with razor bump defense Link
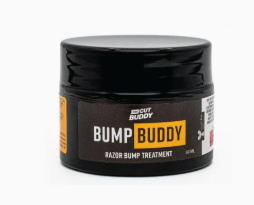
3. Bump Buddy - Razor Bump Treatment: Bump Buddy - Razor Bump Treatment
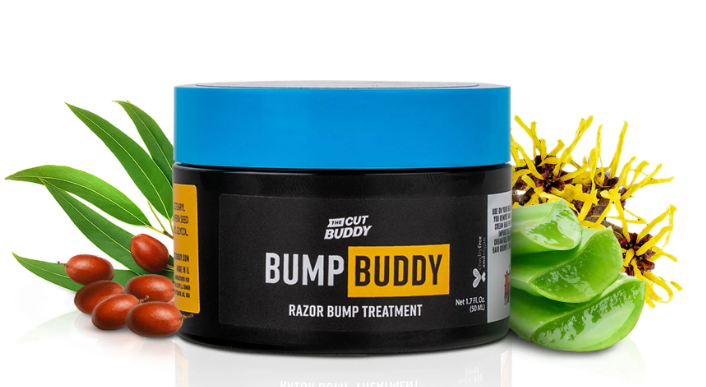
The Benefits and Directions for Using Aftershave with a Rotary Shaver
After completing a shave with a rotary shaver, applying aftershave is a vital step in maintaining healthy, smooth skin. Aftershave offers numerous benefits, including soothing irritation, hydrating the skin, and providing a refreshing sensation. In this article, we'll explore the benefits of using aftershave with a rotary shaver and provide step-by-step directions for optimal application.
Benefits of Using Aftershave with a Rotary Shaver:
- Soothes Irritation: Aftershave contains ingredients such as witch hazel or aloe vera, which have soothing properties. It helps to calm any irritation or redness that may occur during shaving, especially for those with sensitive skin.
- Hydrates and Moisturizes: Aftershave often contains moisturizing agents like glycerin or vitamin E, which help to hydrate the skin and restore its natural moisture balance. This is particularly beneficial after using a rotary shaver, which can sometimes cause dryness.
- Closes Pores: Aftershave helps to close the pores on your skin, reducing the risk of dirt and bacteria entering and causing breakouts or infections.
- Prevents Razor Burn: The soothing and moisturizing properties of aftershave help to prevent razor burn, a common issue after shaving with any type of razor, including rotary shavers.
- Refreshes and Invigorates: Many aftershaves have a refreshing scent and provide a cooling sensation when applied, leaving you feeling invigorated and refreshed after your shave.
Directions for Using Aftershave with a Rotary Shaver:
- Complete Your Shave: After finishing your shave with a rotary shaver, rinse your face thoroughly with cool water to remove any remaining shaving cream or hair.
- Pat Your Skin Dry: Use a clean towel to gently pat your skin dry. Avoid rubbing, as this can cause irritation, especially if your skin is sensitive.
- Apply Aftershave: Dispense a small amount of aftershave into the palm of your hand. Rub your hands together to distribute the product evenly.
- Apply to Face: Gently massage the aftershave into your skin, focusing on areas that may be prone to irritation or razor burn. Allow the aftershave to absorb fully into your skin before moving on to the next step.
- Follow with Moisturizer: If desired, you can follow up with a moisturizer or aftershave balm to further hydrate and protect your skin. Choose a product specifically designed for post-shave care to maximize its benefits.
- Clean Up: Rinse your hands and any surfaces that may have come into contact with the aftershave to avoid any potential irritation.
Conclusion: Using aftershave with a rotary shaver offers multiple benefits for your skin, including soothing irritation, hydrating, and providing a refreshing sensation. By following the proper directions for application, you can enhance your post-shave routine and maintain healthy, smooth skin after using a rotary shaver.
DISCOUNTS
We are proud to offer many discounts at
The Cut Buddy.
Our discounts use ID.me to verify. Please follow the link below to register.
Step 1: Please click the link to verify with ID.me: Click this link to Verify
Step 2: Start Shopping and Saving
If you would like to read more about our discounts, please select from the links below:
MILITARY VETERANS AND ACTIVE SERVICE MEMBERS
If you would like to read more about our Military Discount and Initiative please visit our Discount page here: The Cut Buddy - Military Discount Page
FIRST RESPONDERS
If you would like to read more, please visit our First Responder Discount page here: The Cut Buddy - First Responder
HEALTHCARE WORKERS
If you would like to read more, please visit our Healthcare Worker Discount page here: The Cut Buddy - Healthcare Workers
TEACHERS
If you would like to read more, please visit our Teacher Discount page here: The Cut Buddy - Teachers
STUDENTS
If you would like to read more, please visit our Student Discount page here: The Cut Buddy - Students
Introducing Our Subscribe & Save Program – Convenience and Savings Delivered!
Our Subscribe & Save option allows you to receive automatic deliveries of your frequently used items at a discounted price, right to your doorstep. Plus, you can cancel anytime, no questions asked!
How to Set Up Your Subscription:
- Visit our website at www.thecutbuddy.com.
- Select the item you’d like to subscribe to.
- Choose the "Subscribe & Save" option.
- Pick your preferred delivery frequency: every 90 or 120 days.
- Add the item to your cart.
- Follow the checkout prompts to complete your subscription.
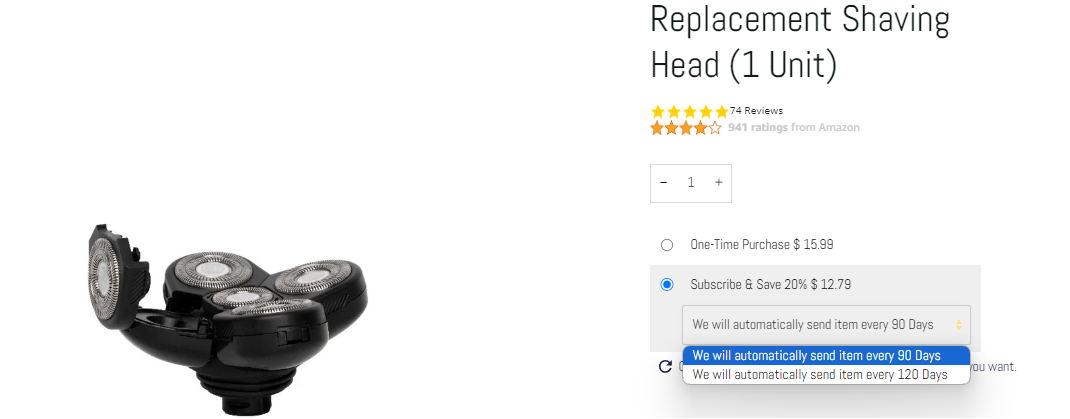
Enjoy hassle-free shopping and exclusive savings with every delivery!
You can always reach out to our customer support team, we are happy to help.
Join our VIP club and unlock exclusive perks!
We’re thrilled to invite you to join The Cut Buddy’s VIP Club! As a member, you’ll enjoy amazing benefits like:
✨ Exclusive discounts only for VIPs
✨ Early access to sales and promotions
✨ Special birthday surprises and rewards
✨ Insider updates on new arrivals
It’s our way of saying thank you for being such an amazing customer. Plus, it’s completely FREE to join!
Don’t miss out—our VIPs are the first to know and save.
To join, simply go to Thecutbuddy.com and scroll to the bottom of the page.
Enter your email address and press the arrow - You are all set, Welcome to the Family!

Shipping and Store Locator
Shipping and Store Locator
Store Locator
To locate the closest store near you, please click the link to our store locator.
Click here: Click this link to go to our store locator
Order Processing Times
Our warehouse is open Monday through Friday.
We take 1-2 business days (MON-FRI) to process all orders. (During peak traffic times, our processing times may vary.)
Once an order is processed, you will receive a tracking number.
Standard delivery (Domestic)
Standard Delivery usually takes between 3-7 business days.
We always recommend you purchase Route package insurance to protect your order.
(The route protection protects against lost, stolen, or missing packages)
Stop Soldier Suicide
CURRENT INITIATIVE:
Stop Soldier Suicide
We owe a debt of gratitude to the brave veterans and loved ones who sacrificed so much to serve our country.
Stop Soldier Suicide is dedicated to helping stop soldier suicide.
Learn about ROGER: the wellness service of Stop Soldier Suicide.
It is important to us to be able to give back. The Cut Buddy commits part of their proceeds to veterans with disabilities.
We thank you from the bottom of our hearts for all you do!